
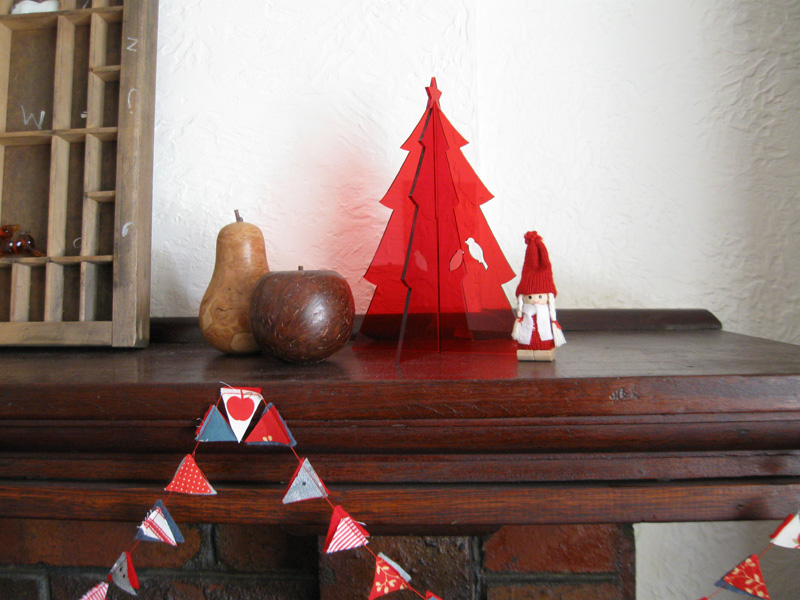
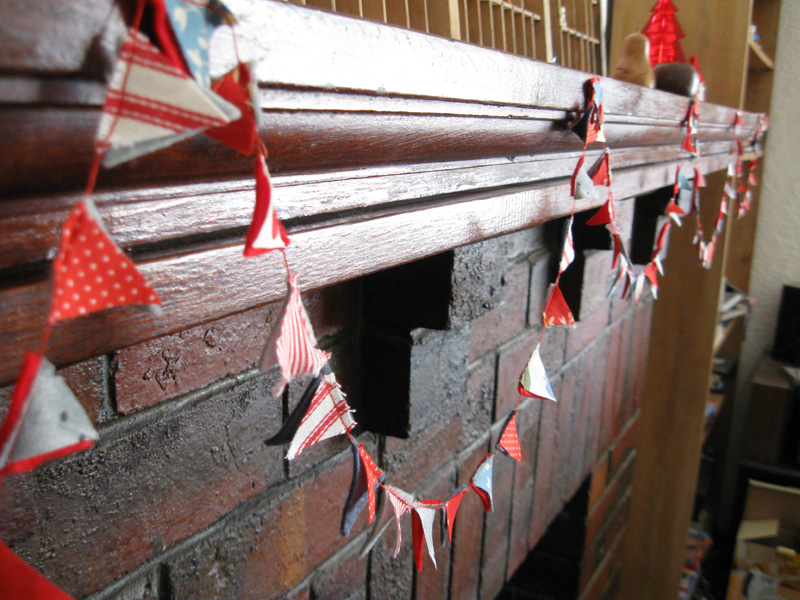
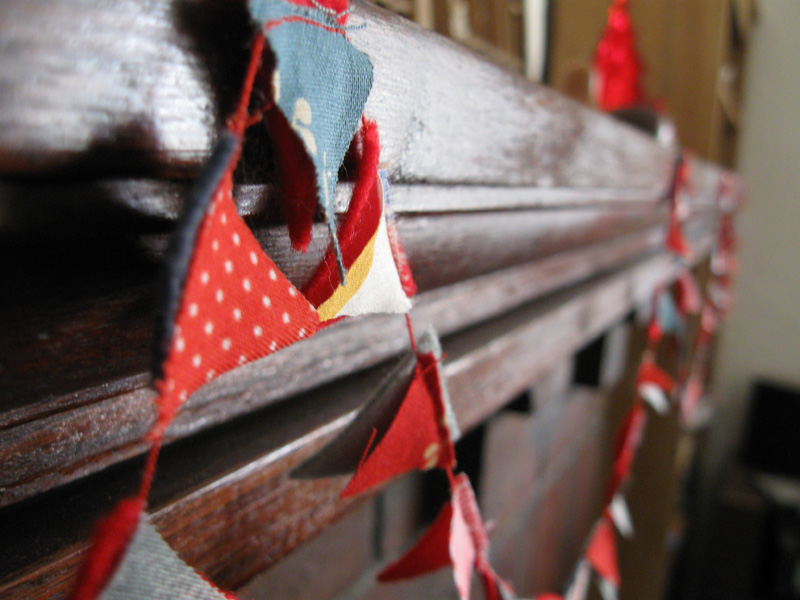
The bunting was really fun and easy to make. I was inspired by Heart Handmade's Wee Bunting, and I enjoyed it so much I made extra for my office! Using felt to back the pieces is a good idea, because it gives the bunting enough weight and stiffness to hang properly. I didn't worry about getting the pieces the same size or even nice neat triangles, and I think it looks much better that way.

5 comments:
This is adorable!
I love your bunting and the sweet colour scheme.
I love the baby bunting.
I saw that on flickr, it's really cute :-)!!
gine
www.dolcifelici.de/blog
i am SO JEALOUS of your awesome mantlepeice.
especially those printing trays.... want...
Post a Comment